
Guide to set up the album
From creating an album to receiving your client’s selection. This guide covers the main steps in SelectPhoto.
1. Create an album and upload photos
In Studio, choose New album, enter a title and confirm. The album is created as a Draft. You will then see Photos and appearance, where you can drag files onto the upload area or choose them from your computer.
Upload JPG/JPEG or PNG files. Photos are resized during upload for use in the gallery. Keep the same filenames as your originals to make them easy to match later. You can upload up to 1,000 photos at a time.
When the transfer finishes, confirm adding the photos using the button below the upload area. The images appear in the list. With a paid licence, you can switch between the aspect-ratio layout and a regular grid directly above the photos.
You can recommend photos to the client and add notes. A photo’s menu also lets you set it as the album’s cover.
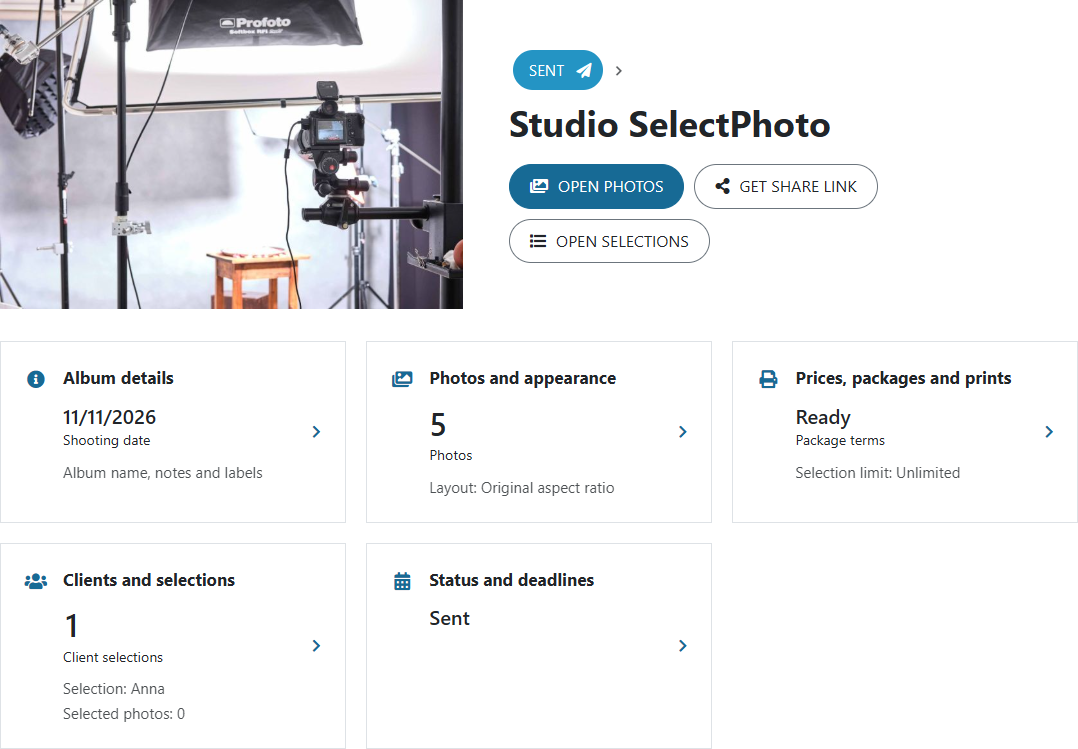
Edit the title, shoot date and labels under Album details. Create labels for organising your albums under Settings → Album labels.
2. Prepare prices and print formats
Before sending the album to clients, open Prices, packages and prints. You can leave prices hidden, price individual photos and prints, or use a Photo package with a paid licence.
For a package, set the number of included digital photos and any prints. For each item, decide whether clients can choose extras and set the extra-item price. Manage saved packages and print formats under Settings → Price list, packages and prints. A selected package is copied into the album, where you can adjust it for that job.
To show clients your bank details and the amount due after submission, first add an account under Settings → Bank accounts. Adding or changing an account requires two-factor authentication under Settings → Login and security. Then choose the account in the album’s package and enable payment details. Recording payments received is a separate, optional feature.
In the package, choose what should be calculated for the client to pay: the full package price, only extra photos and prints, or payment agreed individually. Save the package and choose Make available to clients before inviting clients. Once a client opens the album, or selections or payments are recorded, package prices and included quantities are locked. The settings show the reason.
3. Add and invite clients
Under Clients and selections, choose Add client. Enter their email and choose their permissions. A regular client can select photos. Extended permissions also allow them to add other clients, so grant these only when needed.
An album can have several clients, for example after a family or school shoot. Each client has their own selection and link. Package quantities and prices apply to each selection separately.
Send album to clients opens the invitation. Check the recipients, subject and message before sending. Each recipient gets their own album link. Adding a client alone does not send an invitation.
If you do not yet know the participants’ email addresses, use Get link and choose sharing that allows people to create their own selection. Each participant enters their details to create a selection. For a package, first allow Selections through a shared link under Prices, packages and prints. A view-only link does not create a separate selection.
Set an optional Selection deadline under Status and deadlines. It applies to all client selections in the album. Clients can no longer edit selections after that date. Leave the date empty for no automatic deadline.
4. How clients select photos
Clients open the email link and mark the photos they want to order. A selected photo has a checked circle. They can choose available print formats and quantities or add a note. Notes are saved automatically. Clicking a photo opens the detailed view.
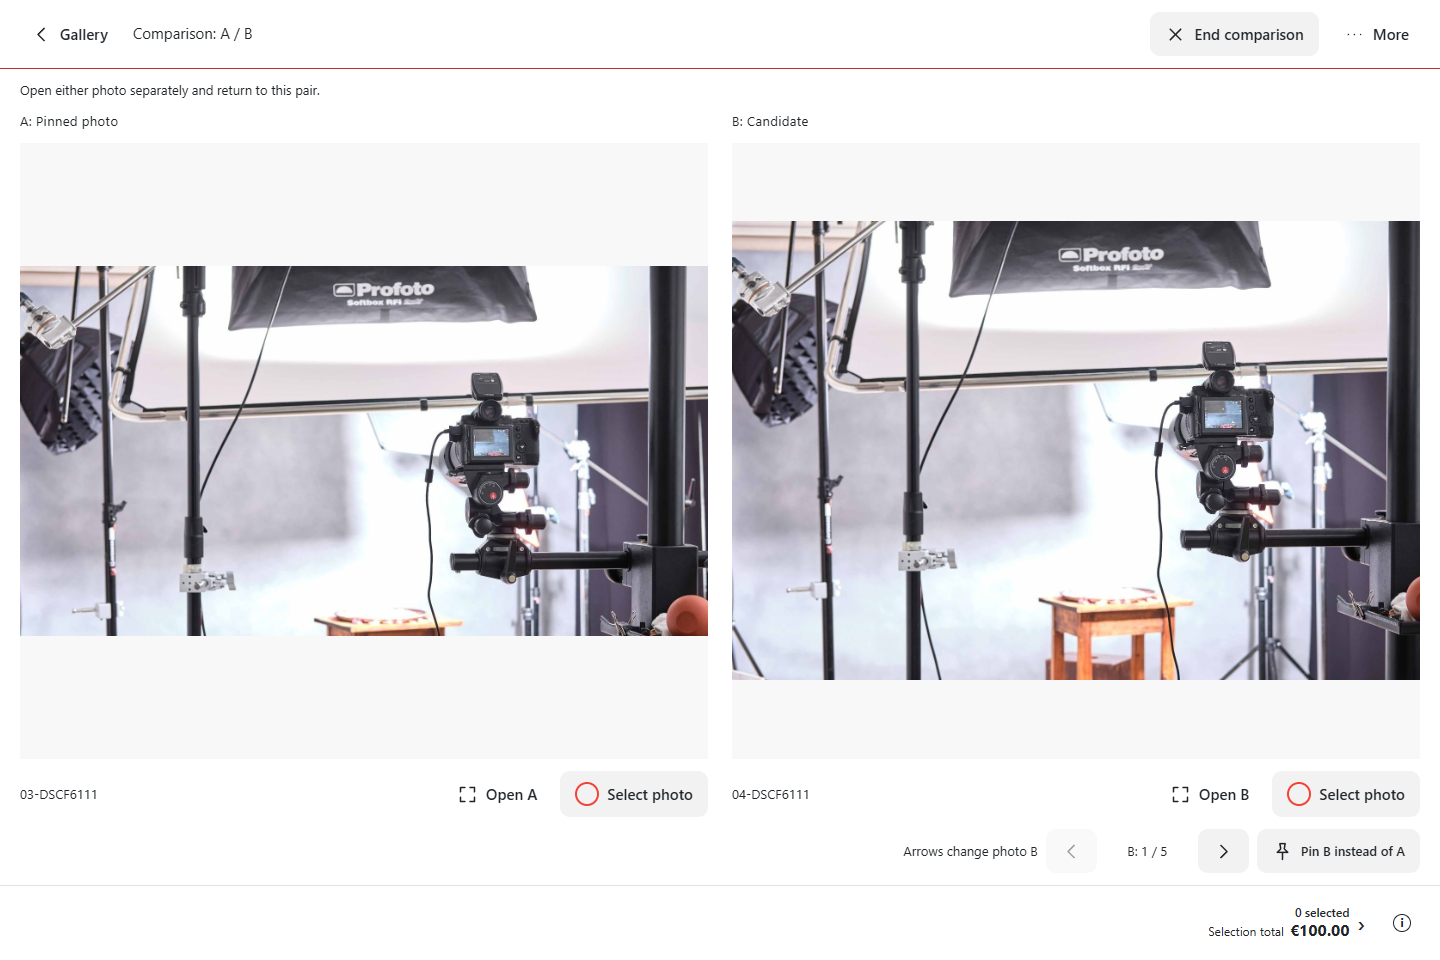
They can also mark two similar photos for comparison and view them side by side. Comparison is available with the Free licence too.
When finished, clients use Review selection, check their photos and prints, and submit the selection to the photographer. A submitted selection is closed for further edits. If something needs changing, the client should contact the photographer.
When payment details are enabled, clients see the account and amount due after submitting, or a message that the details await the photographer’s approval. Details ready at submission also appear in the confirmation email. After a later approval, clients receive them in another email. They can view the details and current balance due whenever they open their submitted selection again.
5. Process submitted selections
Studio shows each album’s status. Sent means an invitation has been sent, Viewed means a client has opened the album, and To process indicates closed selections. For albums with several clients, check the status of individual selections too.
Under Clients and selections, open Client selections. The table shows selected photos, prints and notes. Export the selection for processing. For Lightroom, use the filename list and, if needed, change the exported file extension to match your originals.
If payment details await your approval, open the relevant client selection under Prices, packages and prints. Check the amount and choose Confirm amount and send payment details. The client will receive an email with the bank details and amount due.
When the job is finished, set its status to Done under Status and deadlines. To remove an album you no longer need, use the album management area under Album details to move it to the trash. You can restore it for one month.
Find more answers in the FAQ, or contact support@select.photo if you need help.